
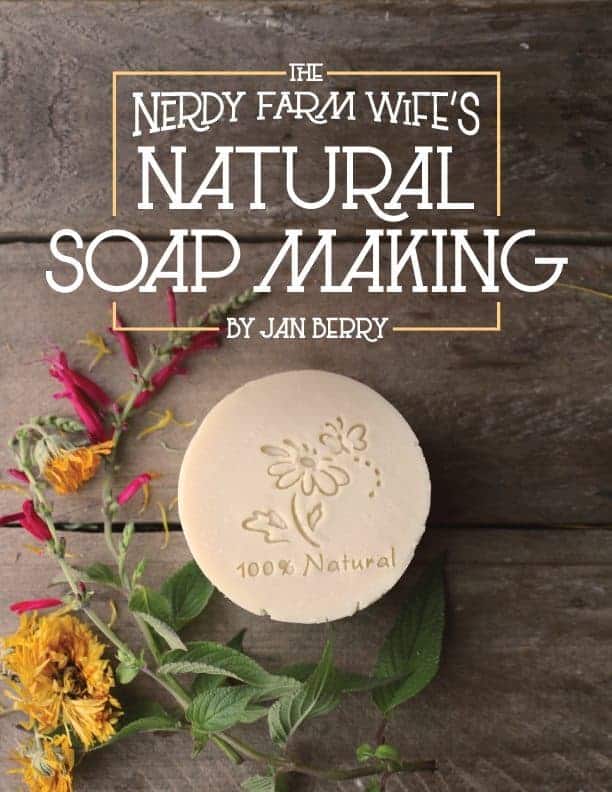
I’m going to say right now that I am no expert when it comes to making homemade soap. In fact, what you will see in this post is how to make soap for beginners. This is because I am also very much a beginner! The benefit from learning from a soap making newbie like me is that I can help you to not make the same mistakes that I did. Luckily for me, everything went relatively well and I didn’t mess anything up too much. The biggest reason for this is because I had Jan Berry’s Natural Soap Making eBook to guide me. The best part of it all is that I realized how easy it actually is to make your own homemade, natural soap. Now I’m hooked! Learning how to make soap isn’t nearly as hard as I thought it would be.

I’m going to start off by saying that I’ve always wanted to learn how to make soap, but have honestly been scared. The whole lye thing and the potential for chemical burns really turned me off. I researched making homemade soap without it, but it just didn’t seem the same. So, I just tried to keep happy with store bought soap. But, as you may already know, I’m a DIY kind of girl, especially when it comes to homemade bath, beauty, and herbal products. I even have my own handmade herbal salves and lip balms business! So, the fact that I had never made soap was kinda eating me up inside. It was one of those things that I knew was going to happen one day, but when?
Then I discovered Jan Berry’s blog, The Nerdy Farm Wife. She made homemade soap making look so easy and fun, plus most of her soap recipes contained herbs and other natural products, which I love. So, I got a copy of her Natural Soap Making eBook and was so glad that I did!
The book is easy to read and understand, and made me realize that *I* actually could learn how to make soap safely. I read it and re-read it until I felt comfortable about the process, and about using lye. It turns out that lye (derived from wood ash) has been used to make soap for centuries, and what we use now is just a standardized version to make recipes more reliable. There isn’t even any lye left in the soap if you do everything right. The book explains it all, complete with diagrams to help you understand the chemical reaction that happens.
Jan goes step by step into the soap making process, from what equipment you need to troubleshooting when your soap doesn’t come out quite right. The soap making checklist that is included in the complete package is also invaluable. You can print it out and have it right next to you to guide you at every step. So worth it!
The first thing you will need to do is to make sure you have all of the proper soap making equipment. To me, this ended up being the hardest part! Any kitchen tools that are used for making soap shouldn’t be used for anything else, so try to use old or inexpensive items. The eBook goes into way more detail about all of this, but here are the absolute basics:
- small plastic container for measuring lye
- larger heatproof plastic container for mixing the lye and liquid
- rubber gloves for handling the lye
- pot for mixing the soap in, non-aluminum (I used an old stainless steel pot)
- thermometer
- big stirring spoon and rubber spatula
- soap mold of some sort (Joel made one for me out of wood)
- parchment paper for lining the mold
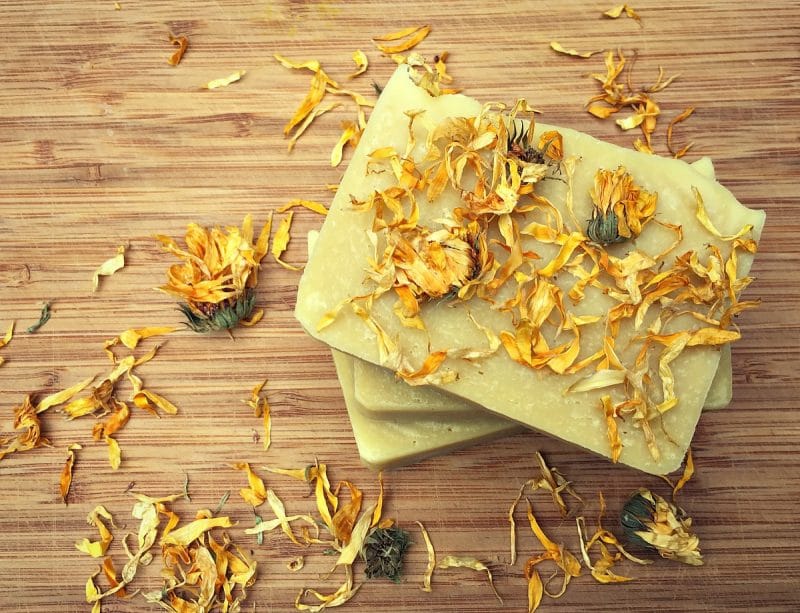
Jan’s book also has a whole bunch of great natural homemade soap recipes. The recipe that I’m going to use today is one of the simpler ones, Calendula Soap. I love calendula and use it in many of my own homemade natural beauty products, like my herbal salve and calendula cream. It is great for the skin and is also a powerful healing herb, which is also why I use it in the salves and lip balms I make for Coco’s Herbals.
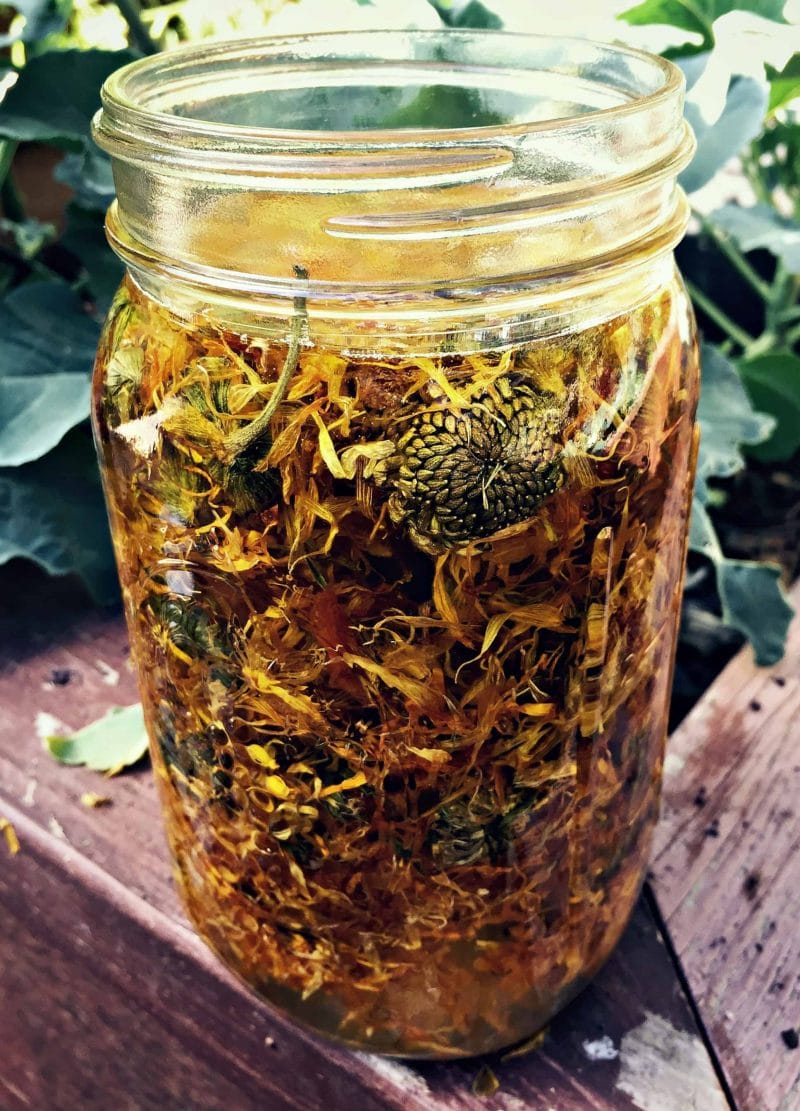
When you make natural homemade soap like this you can always use infused herbal oils instead of using plain oils. So, I of course started by making a calendula infused olive oil for this recipe. Isn’t it pretty?
Once you have all of your equipment, ingredients, and infused oils (if using), it’s time to make soap! I’m

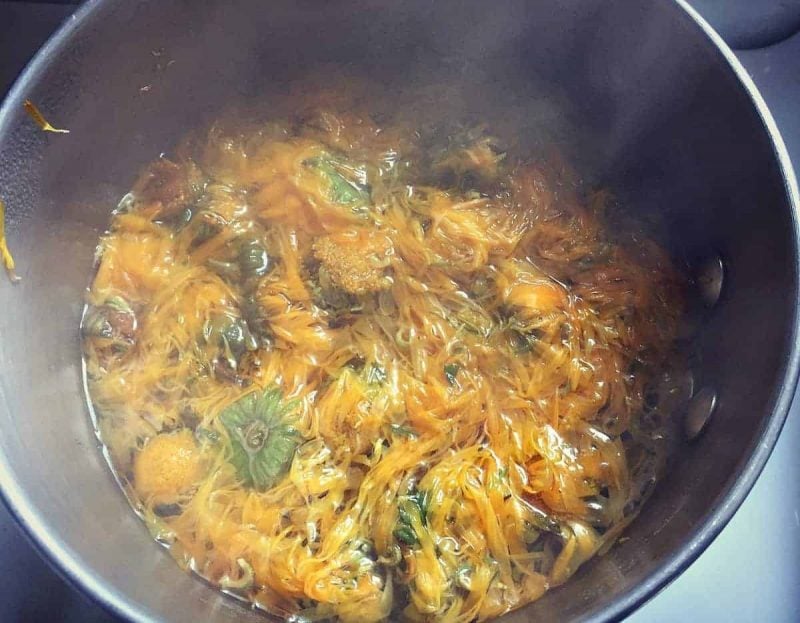
The first step is the make the calendula tea. This is pretty straightforward, just steep dried calendula flowers in boiling water, then strain.
Then cool the tea completely so that it is at room temperature. This is very important, so don’t be in too much of a hurry! Then weigh out the tea into the heatproof plastic container.
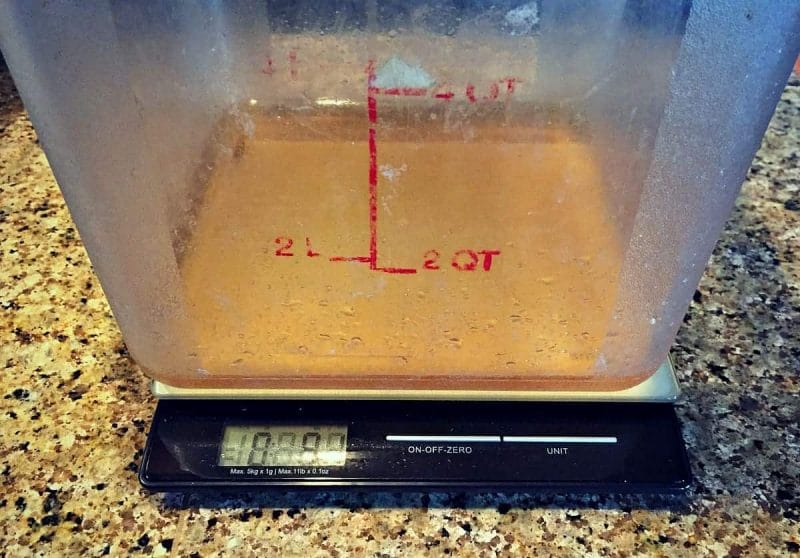
Put that in the sink (or outside, if that’s where you’ll be soaping), then carefully weigh out the lye, making sure you are taking all the necessary precautions with gloves, long sleeves and goggles if needed. You absolutely do not want to come in contact with the lye at all. Make sure there are no children or pets in the area.
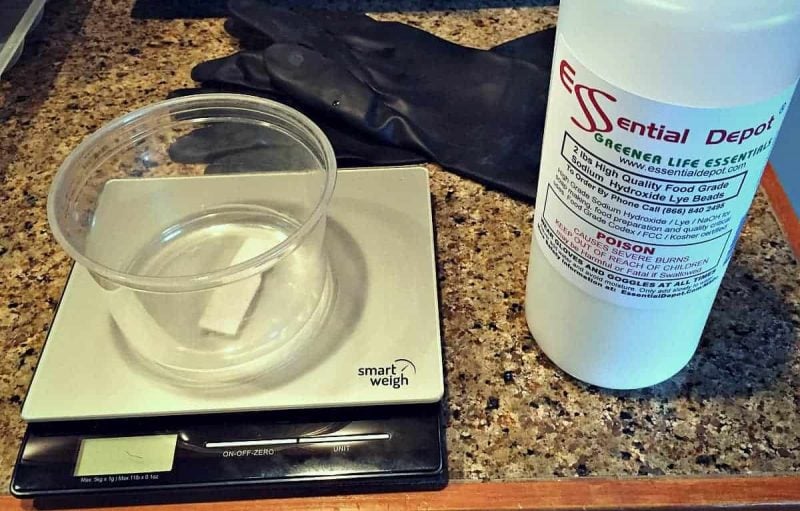
Next you pour the lye into the liquid (in this case, the calendula tea). You always want to pour lye into liquid to avoid a volcano! It will become very hot very fast, so be careful. Stir well, but don’t breathe in the fumes. Make sure there are open windows and fans blowing if needed, if you are indoors. Once the lye is completely dissolved in the liquid, leave it be and weigh out the oils.
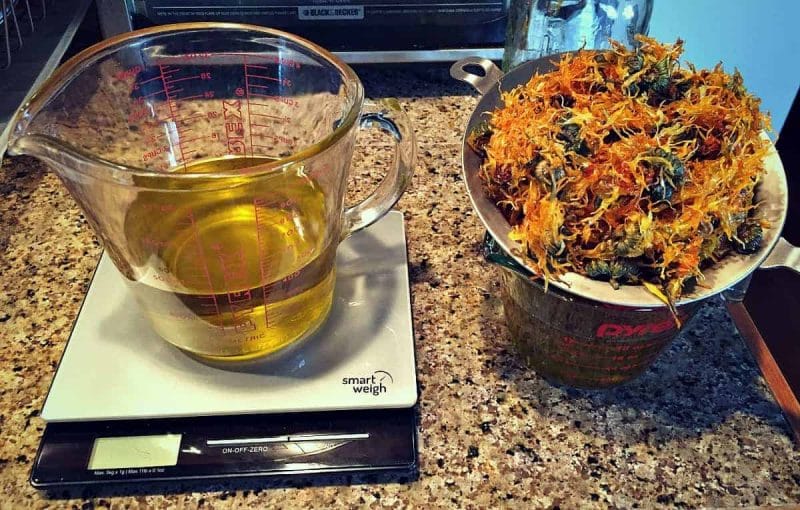
Pour the oils into the big pot and gently warm them to about 100°F or so. When both the liquid and lye mixture and the oils are around 100°F (+/- 20°F is ok), slowly drizzle the lye mixture into the oils. Rinse the lye container with cold water and set aside. Then use the immersion blender to mix the soap batter, alternating 30 seconds on and 30 seconds off. You may have to tilt the pot a bit in order for the blender to be completely submerged.
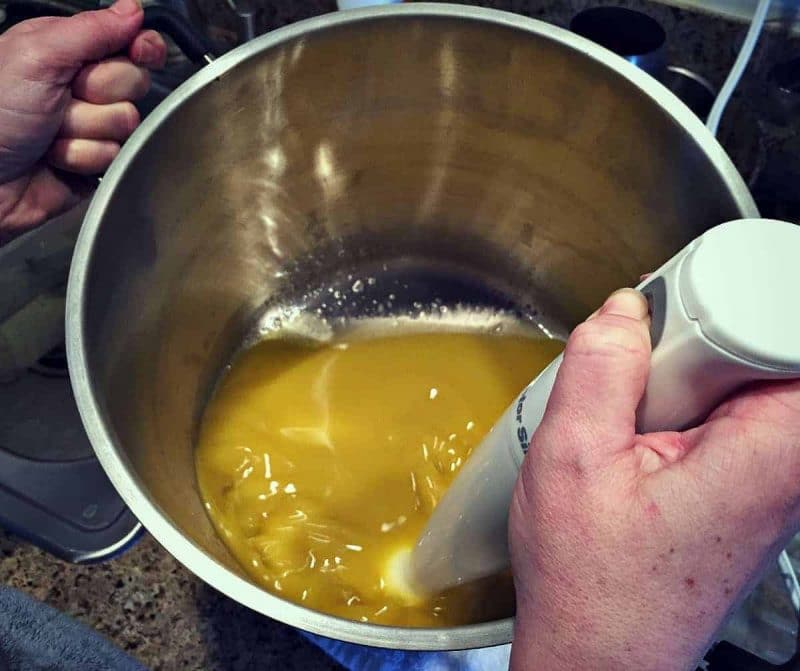
After a couple of minutes you will notice that the mixture will start to thicken. What you are looking for is called “trace”. This is when it is thick enough that the soap leaves a pattern on the surface before sinking back in.
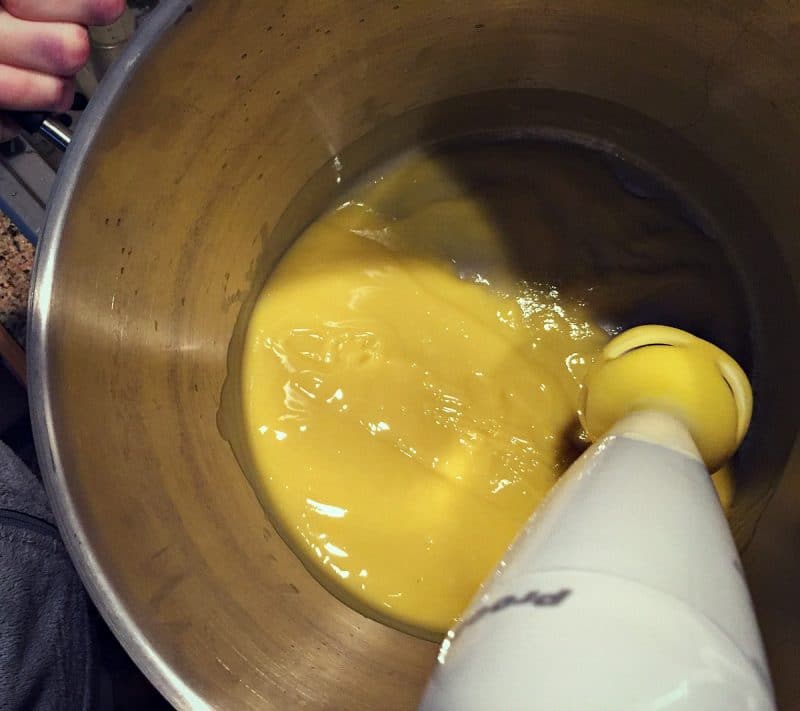
When you get to this point, it’s time to pour it into your parchment lined mold. If you get the Natural Soap Making complete package there is a diagram on how to line your soap mold with parchment paper, which actually turned out to be quite handy for us at the last minute!
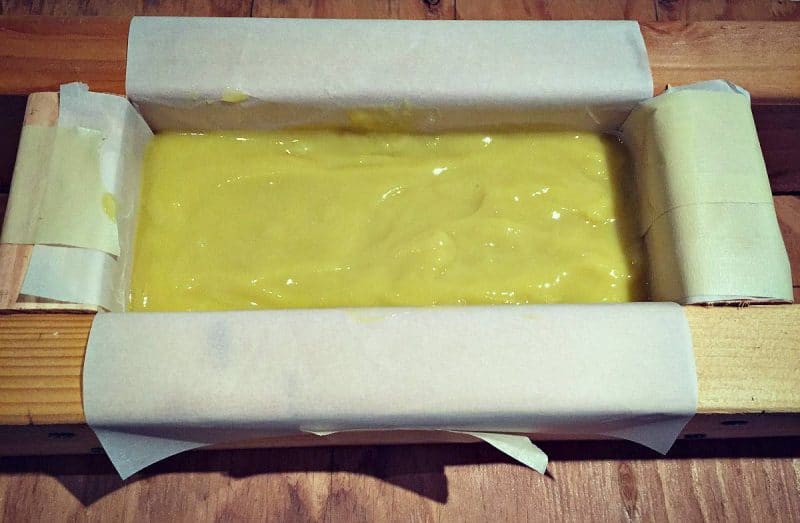
Cover with something (I used a piece of cardboard) and wrap a few towels and blankets around it to keep it warm. Check on it every hour or so for the first few hours to make sure it isn’t cracking. If it is, take the towels and blankets off to let it cool quicker.
Put all of your soap making equipment aside in a safe place to wash the following day (isn’t that great?). It won’t be as harsh after it sits for a while, so it’s better to wait.
Let the soap sit in the mold for 24-48 hours. Here is what mine looked like when I took it out.
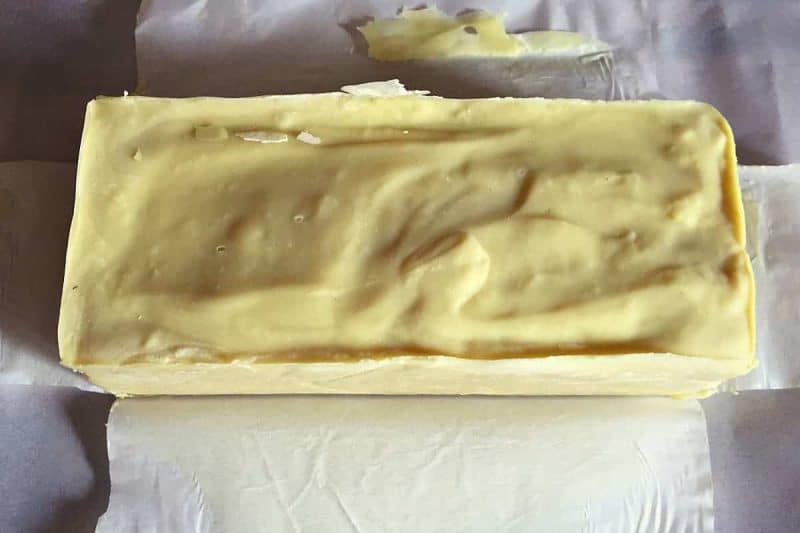
Pretty cool, huh? I was rather proud of myself at this moment. Cut the soap into desired shapes and sizes. I got 10 large bars from this recipe.
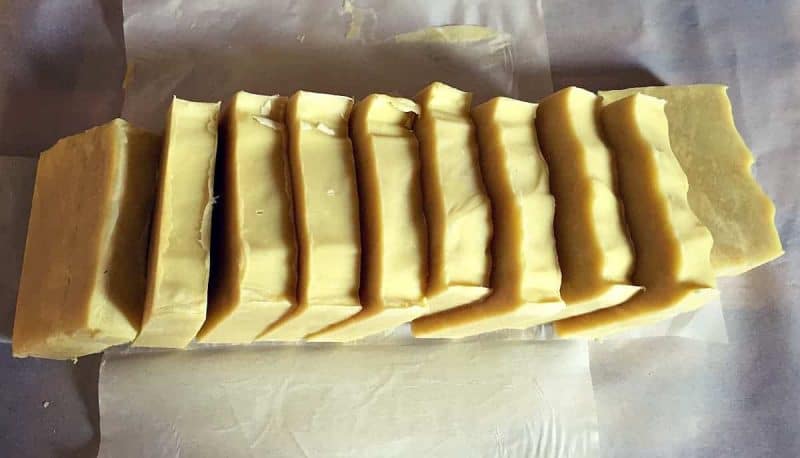
Now comes the hardest part, and the part I never realized about homemade soap making. You have to wait to use it for 3-4 weeks so that it can cure! It will mellow with time, become harder and more gentle, so you gotta wait. I know, it’s tough! Lie them out on a parchment lined rack and flip every so often.
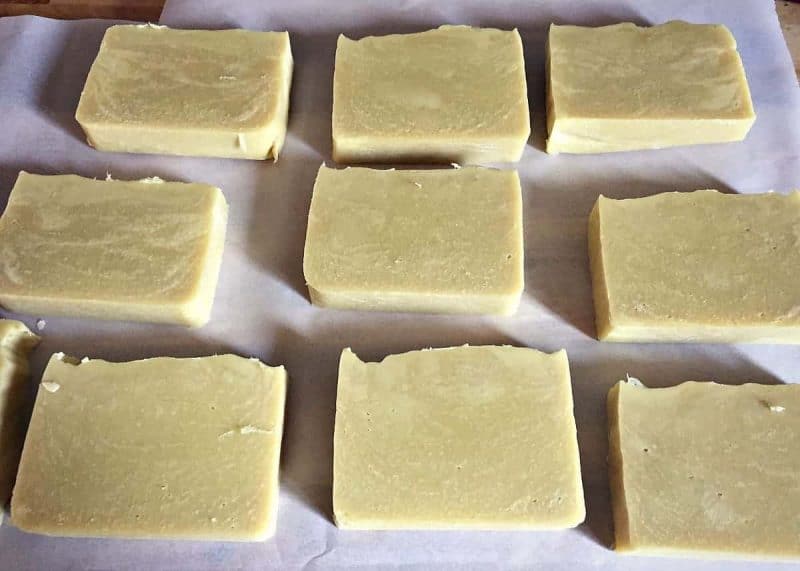
This soap turned out absolutely wonderful, and is a new favorite in our household. I don’t think I’m ever going to buy commercial soap again!
I hope this post helps you on your soap making journey. It was really quite surprising how easy it was to make, once I had all of the necessary equipment and ingredients. I can’t wait to try more homemade soap recipes!
If you’re interested in how to make soap, I can’t recommend Jan Berry’s Natural Soap Making eBook enough. If you get the complete package you also get the soap making checklist and guide to lining a soap mold, both of which helped me tremendously. You also get two other eBooks, All Natural Milk Soaps and Natural Shampoo Bars. I haven’t made any recipes from those yet, but I plan to, as they look wonderful.
Happy soap making! Please let me know about your beginning homemade soap adventures!
Original article and pictures take http://www.growforagecookferment.com/how-to-make-soap-for-beginners/ site
Комментариев нет:
Отправить комментарий